
Wall Tiling Steps for a Perfect Finish: Complete Guide
Did you know that a single uneven wall can sabotage even the most beautiful tile design? Preparing your surface and gathering the right tools accounts for more than half of professional tiling success. Neat tile work not only boosts the look of your space, but it also prevents costly repairs down the road. Follow these steps for a flawless wall finish that stands up to everyday wear and continues to impress.
Table of Contents
- Step 1: Prepare Walls And Gather Tools
- Step 2: Plan Tile Layout And Make Cuts
- Step 3: Apply Adhesive And Fix Tiles
- Step 4: Grout Joints And Wipe Excess
- Step 5: Inspect Work And Seal Tiles
Quick Summary
| Key Point | Explanation |
|---|---|
| 1. Prepare the wall thoroughly before tiling. | Ensure the wall is smooth, clean, and filled for better adhesive adhesion and professional results. |
| 2. Plan tile layout carefully before cutting. | Measuring and marking guidelines prevent mistakes and help create a symmetrical appearance while tiling. |
| 3. Use proper adhesive application techniques. | Spread adhesive evenly in small sections and press tiles firmly to avoid air pockets and ensure durability. |
| 4. Grout correctly and remove excess promptly. | Apply grout at a 45-degree angle, wipe excess away quickly, and avoid over-saturating your sponge to maintain grout strength. |
| 5. Inspect and seal the completed tiling. | Conduct a detailed inspection for imperfections and apply a suitable sealer to protect your tiled surface from moisture. |
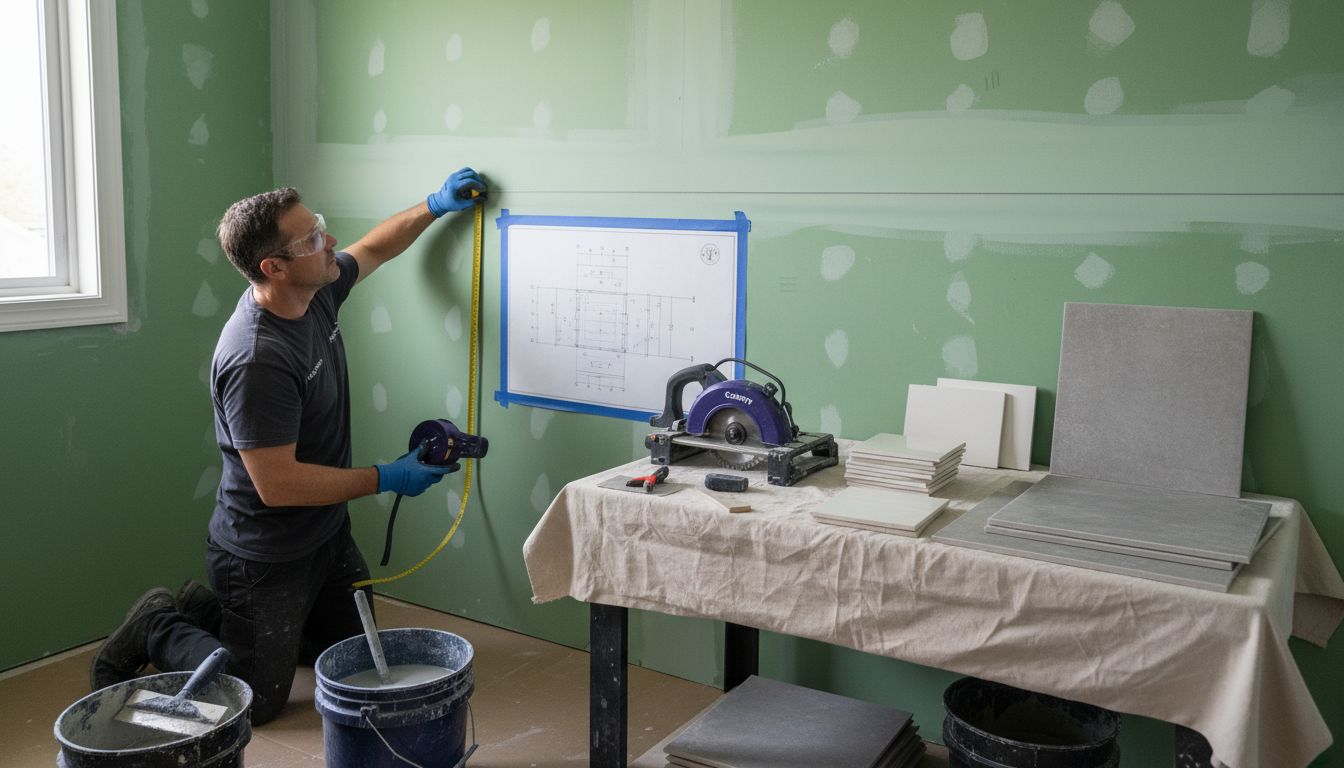
Step 1: Prepare Walls and Gather Tools
Successful wall tiling begins with meticulous preparation and having the right equipment at your disposal. According to cavc.ac.uk, developing proper skills involves demonstrating protective clothing usage and identifying essential tiling tools.
Before you start tiling, gather these critical tools and materials: tile cutter, spirit level, measuring tape, notched trowel, tile spacers, grout float, safety glasses, dust mask, tile adhesive, grout, and clean rags. Your surface preparation is paramount. Inspect your wall thoroughly checking for smoothness, cleanliness, and structural integrity. Remove any loose paint, wallpaper, or debris. Fill small holes or cracks with appropriate wall filler and sand the surface until it is completely smooth and even.
As tiles.org.uk recommends, checking your surface before installation is crucial. A perfectly prepared wall will ensure your tiles adhere correctly and create a professional finish. Pro tip: Use a spirit level to confirm your wall is completely straight. Any significant bumps or dips will impact tile alignment and overall appearance.
Ready to move forward? The next step involves selecting and preparing your chosen tiles for installation.
Step 2: Plan Tile Layout and Make Cuts
Careful planning and precise tile cutting are essential for achieving a professional wall tiling finish. According to nationalcareers.gov.uk, skilled tilers work out material requirements and follow design plans to match intricate tile pattern layouts.
Start by measuring your wall and creating a detailed layout plan. Use your measuring tape and chalk line to mark horizontal and vertical reference lines across the wall surface. These lines will guide your tile placement and ensure straight alignment. As tiles.org.uk recommends, working out your tile layout beforehand prevents costly mistakes. Consider how tiles will fit around obstacles like electrical outlets or windows. Pro tip: Begin tiling from the centre of the wall and work outwards to create a symmetrical appearance.
For cutting tiles, you will need a quality tile cutter or wet saw. Measure carefully and mark cutting lines using a pencil and straight edge. Always wear safety glasses and work in a well-ventilated area. Practice cutting on spare tiles first to develop confidence and precision. Remember to leave space for grout lines between each tile.
With your layout planned and tiles cut, you are now ready to begin the actual installation process.
Step 3: Apply Adhesive and Fix Tiles
Applying adhesive and fixing tiles is a critical stage that determines the longevity and appearance of your tiled wall. According to tiles.org.uk, selecting the right adhesive is fundamental to achieving a durable and aesthetically pleasing result.
Begin by choosing the appropriate tile adhesive for your specific surface and tile type. Use a notched trowel to spread the adhesive evenly across a small section of the wall at a time. Hold the trowel at a 45-degree angle to create consistent ridges. As tiles.org.uk recommends, work in small manageable sections to prevent the adhesive from drying before tile placement. Press each tile firmly into the adhesive using a slight twisting motion to ensure complete coverage and remove any air pockets.
Pro tip: Use tile spacers between each tile to maintain consistent grout lines and ensure a professional finish. Check your tiles are level frequently using a spirit level. Work methodically from your previously marked centre lines outwards.
Allow the adhesive to set completely before proceeding to grouting typically 24 hours depending on the product instructions.
With your tiles securely fixed, you are now ready to move on to the grouting stage.
Step 4: Grout Joints and Wipe Excess
Grouting is the final step that transforms your tiled wall from a collection of individual tiles into a seamless elegant surface. According to tiles.org.uk, proper grouting techniques are essential for achieving a professional finish.
Prepare your grout by mixing it to a smooth consistency following the manufacturer’s instructions. Use a rubber grout float held at a 45-degree angle to spread grout diagonally across the tiles, ensuring all joints are completely filled. As tiles.org.uk recommends, work in small sections and remove excess grout promptly. After initial application, wait approximately 15 minutes for the grout to slightly set, then use a damp sponge to carefully wipe away excess grout from tile surfaces. Rinse your sponge frequently to prevent grout haze.
Pro tip: Avoid over-saturating your sponge when cleaning excess grout, as this can weaken the grout lines. Make multiple light passes rather than one heavy wipe. Allow the grout to cure completely typically 24 to 48 hours before sealing or exposing the tiled surface to moisture.
With grouting complete, you have successfully transformed your wall into a professionally tiled surface.
Step 5: Inspect Work and Seal Tiles
The final stage of wall tiling involves a thorough inspection and protective sealing to ensure long lasting beauty and durability. According to tiles.org.uk, carefully examining your completed tiling work is crucial for identifying and addressing any potential imperfections.
Begin by conducting a detailed visual inspection under good lighting. Check for consistent grout lines, tile alignment, and any areas with excess adhesive or grout residue. Use a clean white cloth to test for any remaining grout haze by gently wiping the tile surfaces. As tiles.org.uk recommends, applying a high quality tile and grout sealant will protect your surface from moisture and potential staining. Ensure the grout has completely cured before sealing typically 48 to 72 hours after grouting.
Pro tip: Choose a penetrating sealer appropriate for your specific tile type. Apply the sealant evenly using a foam brush or roller, working in small sections and wiping away any excess. Allow the sealant to dry completely before exposing the tiled surface to moisture. This final step will help maintain your tiles professional appearance and protect your investment for years to come.
Congratulations. You have successfully completed a professional wall tiling project.
Achieve a Perfect Wall Tile Finish with Quality Materials and Expert Support
Wall tiling requires precise preparation and the right products to avoid common pitfalls like uneven surfaces or grout lines that do not align. This guide highlights essential steps such as surface preparation, tile layout planning, adhesive application, and sealing. The frustration of working with unsuitable tiles or materials can ruin hours of effort and dampen the satisfaction of your project.
![]() Our goal is to help you overcome these challenges by offering premium tiles that ensure durability and style, making your wall tiling project truly stand out.
Our goal is to help you overcome these challenges by offering premium tiles that ensure durability and style, making your wall tiling project truly stand out.

Explore our wide selection of tiles including porcelain, natural stone, and marble effect tiles at Vividotiles.co.uk. Take advantage of free UK delivery on many items and our affordable prices. Start your journey to a flawless tiled wall by visiting our site now and selecting the perfect tiles for your home or commercial space. Don’t let the risks of improper materials hold you back. Discover expert quality and variety that will make your tiling project a complete success. Visit Vividotiles home page to browse our collections and get inspired today.
Frequently Asked Questions
What are the essential tools needed for wall tiling?
To successfully complete a wall tiling project, you’ll need a tile cutter, spirit level, measuring tape, notched trowel, tile spacers, grout float, safety glasses, dust mask, tile adhesive, grout, and clean rags. Gather these tools before beginning to ensure a smoother installation process.
How do I prepare my wall before tiling?
Start by inspecting your wall for smoothness and cleanliness. Remove any loose paint or debris, fill small holes with wall filler, and sand the surface until it’s completely smooth and even to ensure your tiles adhere properly.
What is the best way to plan my tile layout?
Measure your wall and draw a detailed layout plan before starting. Mark horizontal and vertical reference lines across the wall with a chalk line, which will help ensure that your tile placement is straight and minimizes costly mistakes.
How do I apply tile adhesive correctly?
Use a notched trowel to spread adhesive evenly on a small section of the wall at a 45-degree angle, creating consistent ridges. Work in manageable sections to prevent the adhesive from drying before you place the tiles, ensuring they are securely attached.
What steps should I follow for proper grouting?
Prepare the grout according to manufacturer instructions, then use a rubber grout float to fill tile joints diagonally. After applying grout, wait about 15 minutes for it to set slightly before wiping away excess with a damp sponge, ensuring a clean and professional finish.
How can I inspect and seal my completed tiling work?
Conduct a detailed visual inspection under good lighting, checking for tile alignment and grout consistency. Once the grout has fully cured (typically 48 to 72 hours), apply a high-quality sealant to protect your tiles from moisture and staining, enhancing their durability.