
Tile Pattern Layout Tutorial for Flawless UK DIY Projects
Tile pattern: Updating your North Yorkshire home with fresh tiling can feel daunting when every step promises its own set of challenges. From measuring awkward corners to clearing stubborn old grout, a well-prepared surface lays the groundwork for a durable and beautiful transformation. By focusing on a clean, level foundation, accurate planning, and thoughtful tile layout design, you can turn even the most tired room into something truly striking while making every penny count.
Table of Contents
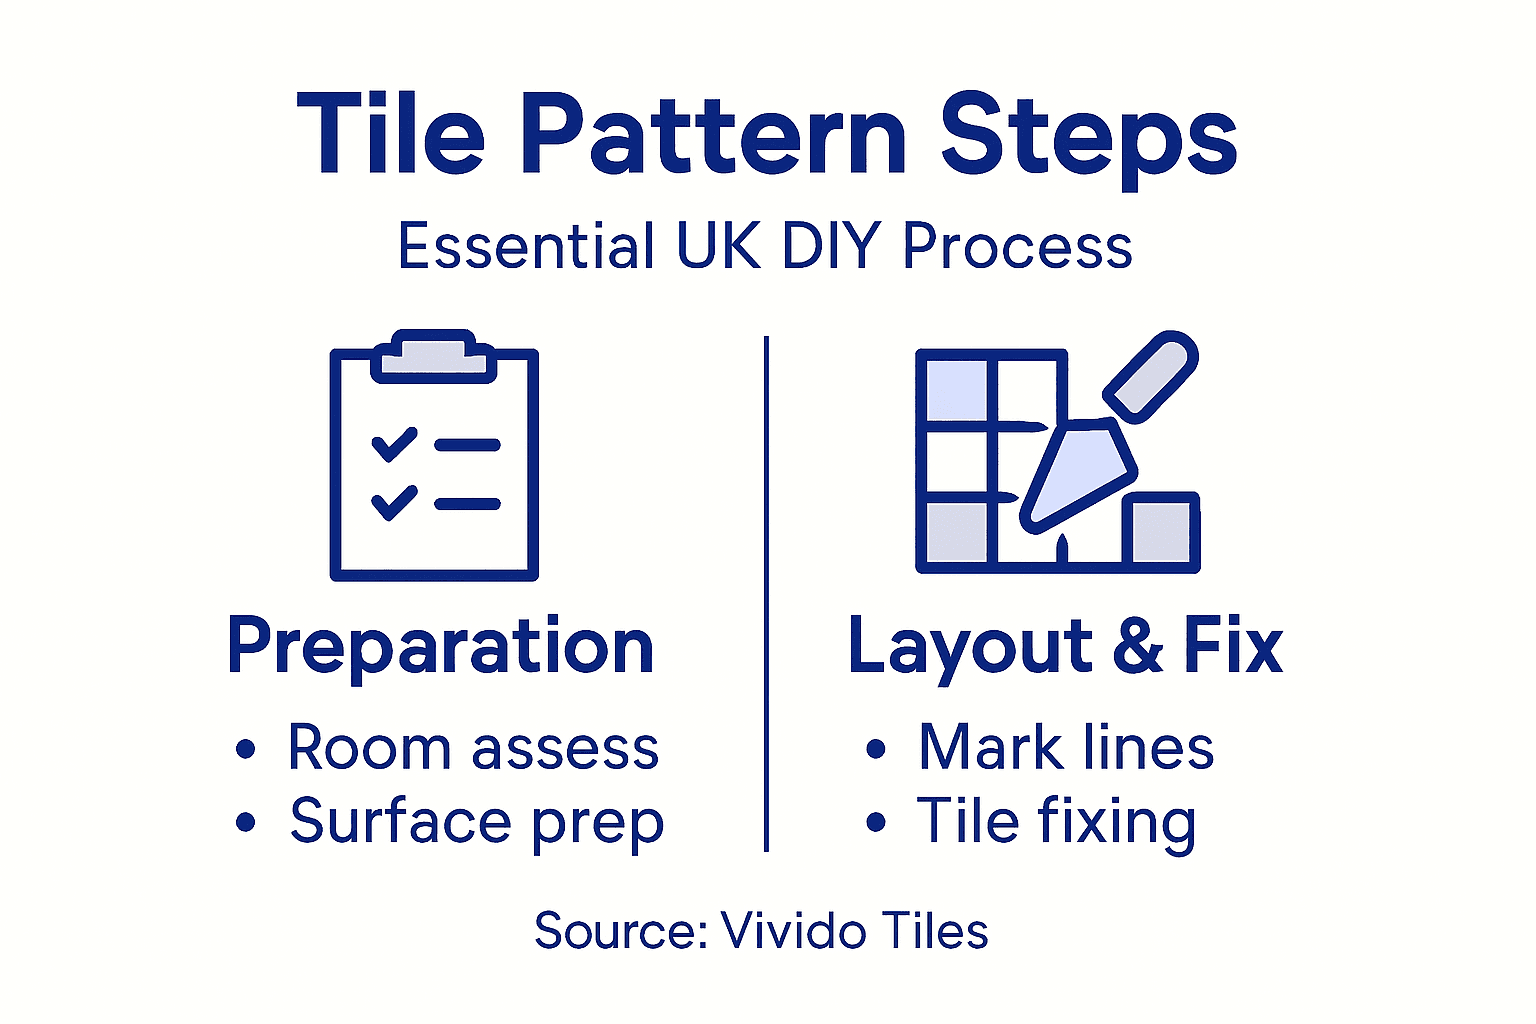
- Step 1: Assess Room And Prepare Tile Surface
- Step 2: Select Pattern And Arrange Dry Layout
- Step 3: Measure And Mark Key Reference Lines
- Step 4: Fix Tiles And Ensure Pattern Consistency
- Step 5: Review Final Layout For Quality And Finish
Quick Summary
| Key Insight | Explanation |
|---|---|
| 1. Assess and Prepare Surface | Thoroughly evaluate and prepare the tiling surface to ensure a stable, clean foundation for tile installation. |
| 2. Choose and Visualise Layout | Experiment with tile patterns through a dry layout, considering room dimensions and natural light to enhance aesthetics. |
| 3. Measure Reference Lines Accurately | Precisely mark reference lines to ensure symmetrical installation, preventing misalignments during tile placement. |
| 4. Fix Tiles with Precision | Maintain alignment and grout joint consistency while applying tiles, using spacers and checking regularly with a level. |
| 5. Conduct a Final Inspection | Carefully review the installation for proper alignment and cleanliness; address any imperfections before finalising. |
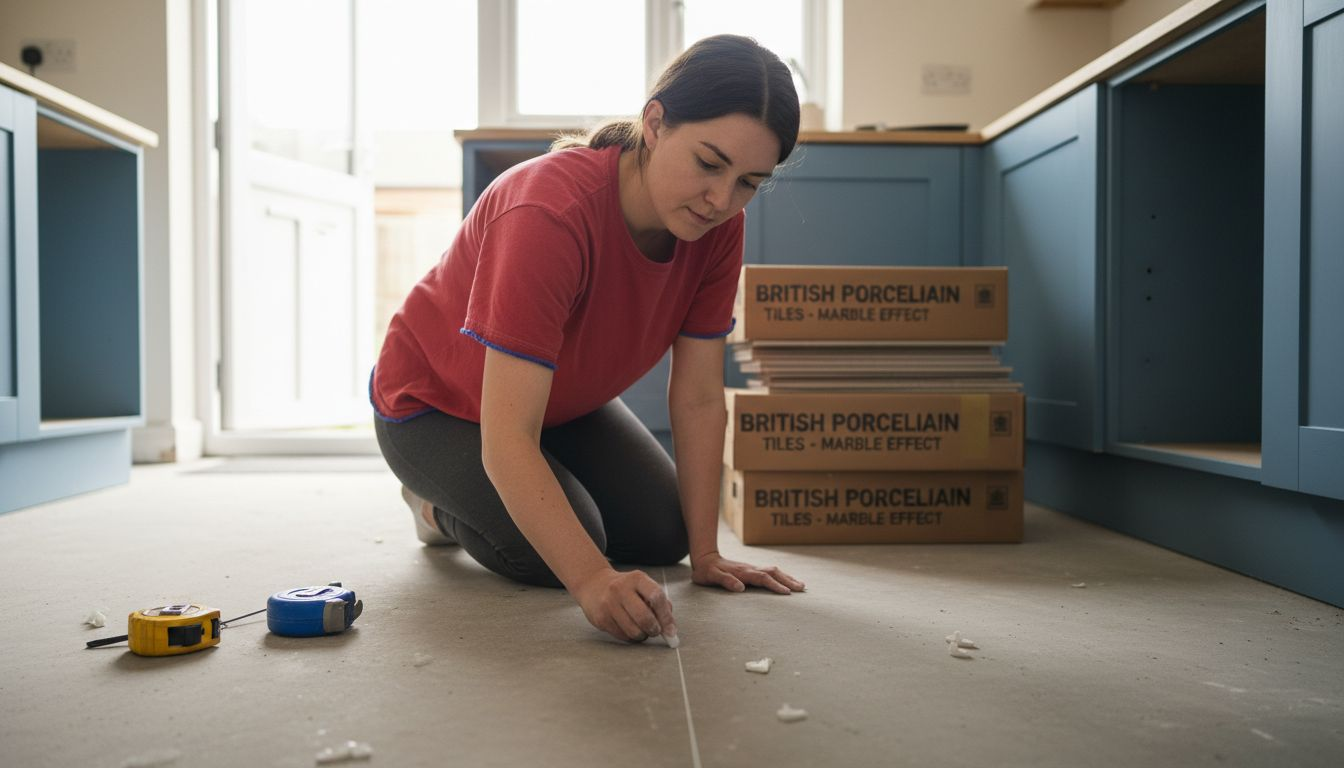
Step 1: Assess Room and Prepare Tile Surface
Successful tiling projects begin with a thorough room assessment and meticulous surface preparation. Your goal is to create a clean, level, and stable foundation that ensures professional-looking tile installation.
Start by conducting a comprehensive room evaluation. Measure the space precisely and identify any potential challenges like uneven flooring, existing damage, or structural irregularities. Tile manual handling risk assessment techniques recommend examining the task environment carefully before beginning work. Check the substrate condition thoroughly, especially checking for dampness, cracks, or previous adhesive residue that might compromise your new tile layer.
Next, focus on surface preparation. Remove any existing flooring materials, old grout, or debris. Use a scraper and cleaning solution to eliminate hard residue and ensure a smooth surface. When cleaning grout and preparing surfaces, work methodically to prevent tile damage. If the floor has significant unevenness, consider using a self-levelling compound to create a flat base. Repair any minor cracks or imperfections with appropriate fillers, allowing sufficient drying time before proceeding.
Remove all furniture and create a clear workspace. Ensure good ventilation and gather all necessary tools like measuring tape, spirit level, trowel, and cleaning materials before starting.
Top Tip: Always test your surface preparation technique on a small, inconspicuous area first to confirm compatibility and effectiveness.
Step 2: Select Pattern and Arrange Dry Layout
Choosing the right tile pattern transforms your space from ordinary to extraordinary, setting the foundation for a stunning visual result. Understanding pattern placement requires careful planning and strategic thinking.
Begin by exploring various tile layout pattern ideas that complement your room’s dimensions and architectural features. Tile pattern selection techniques emphasise mixing tiles from different boxes to ensure consistent colour and texture throughout the installation. Spread out your tiles and experiment with different tile patterns like herringbone tiles, brick bond, diagonal picket tile, or grid stack patterns. Consider the room’s shape, size, and natural light when making your selection. Some patterns can make small spaces appear larger or add visual interest to bland areas.
Here is a comparison of popular floor tile patterns and their unique effects:
| Tile Pattern | Visual Impact | Room Suitability |
|---|---|---|
| Herringbone (custom herringbone design) | Creates dynamic energy and movement | Hallways, kitchens |
| Brick Bond | Adds subtle movement and texture | Bathrooms, living areas |
| Diagonal/Diagonal Picket Tile | Makes space feel wider | Small or narrow rooms |
| Classic Grid (square grid / horizontal stack) | Clean and modern look | Any size, any room |
Proceed with a dry layout by loosely placing tiles across the floor without adhesive. This crucial step allows you to visualise the final design and identify potential challenges. Use a chalk line or laser level to create precise reference lines, ensuring straight alignment. Pay close attention to how tiles meet walls, corners, and edges to minimise awkward cuts or uneven sections. According to DIY tile layout guidance, sort tiles by shade, size, and tile shape before arranging, which helps create a more uniform and professional appearance.
Measure and mark the room’s centre point, then work outwards symmetrically. This approach helps balance the pattern and reduces the number of cut tiles near room edges. Take photographs of your dry layout for reference and make adjustments before permanent installation.
Top Tip: Always keep 10% extra tiles in reserve for potential breakages or future repairs.
Step 3: Measure and Mark Key Reference Lines
Accurate measurement and precise marking of reference lines form the critical foundation for a professional tile installation. Your goal is to create a perfectly aligned base that ensures a symmetrical and visually pleasing result.
Begin by gathering essential tools like a long measuring tape, chalk line, spirit level, and pencil. Grid reference measurement techniques emphasise the importance of creating accurate baseline measurements. Start by finding the room’s centre point and mark it clearly. Measure the room’s length and width, identifying any potential irregularities in wall squareness. Use a spirit level to confirm the floor is relatively flat and make note of any significant variations that might require additional preparation.
Create your primary reference lines using a chalk line or laser level to establish straight guide lines across the floor. These lines will serve as your critical alignment markers during tile placement. According to garden design measurement principles, use the triangulation method to verify your lines are perfectly square. Measure from your centre point diagonally to ensure symmetry and precision. Draw perpendicular lines that intersect at right angles, creating a square grid that will guide your tile layout and minimise cutting and waste.
Double-check all measurements and lines before proceeding. Slight inaccuracies at this stage can compound into significant misalignments during the final installation.
Top Tip: Use bright, contrasting chalk that will be easy to see but can be easily wiped away after tile placement.
Step 4: Fix Tiles and Ensure Pattern Consistency
Tile installation requires precision and patience to transform your carefully planned layout into a flawless finished surface. Your primary goal is to maintain the perfect alignment established during your earlier preparation stages.
Floor tile fixing techniques emphasise using the correct adhesive application method. Start by selecting a notched trowel matching your tile sizes and spread adhesive evenly across a small section of the prepared surface. Work in manageable areas to prevent the adhesive from drying before tile placement. Apply adhesive using consistent angled strokes to create uniform ridges that allow proper tile bedding. For larger tiles or slab-look floor tile designs, consider back buttering the tile reverse side to ensure complete coverage and strong adhesion.
As you place each tile, use spacers to maintain consistent grout joints and carefully align with your previously marked reference lines. Press tiles gently but firmly into the adhesive, using a slight twisting motion to eliminate air pockets and ensure full contact. According to professional tile fixing standards, check alignment frequently using a spirit level or straight edge. Remove and readjust tiles immediately if you notice any deviation from your planned tile layout pattern. Work systematically across the room, periodically stepping back to verify overall pattern consistency and make necessary corrections.
Allow adhesive to set according to manufacturer instructions before proceeding with grouting. Clean excess adhesive from tile surfaces promptly to prevent hardening and potential damage.
Top Tip: Clean your tools and hands frequently during installation to maintain precision and prevent adhesive from setting on surfaces.
This summary outlines common tile installation mistakes and how to avoid them:
| Common Mistake | Potential Issue | Prevention Tip |
|---|---|---|
| Skipping surface levelling | Uneven tiles and cracks | Use self-levelling compound |
| Misaligned reference lines | Crooked tile rows or irregular grout lines | Double-check with a spirit level |
| Using wrong adhesive | Poor long-term adhesion | Match adhesive to tile type and size |
| Ignoring tile spacing | Irregular grout joints and wide grout joints | Always use appropriate spacers |
Step 5: Review Final Layout for Quality and Finish
The final review is your opportunity to transform a good tiling project into an exceptional installation. Your critical eye will ensure every detail meets professional standards and creates a stunning visual result.
Professional tile installation review techniques recommend a systematic approach to final inspection. Start by examining the entire tiled surface from multiple angles and lighting conditions. Check each tile for proper alignment, ensuring there are no unexpected lippage between tiles and that your carefully planned tile pattern flows seamlessly. Use natural and artificial light to highlight any potential imperfections like uneven grout lines or slight tile misalignments. Pay special attention to areas near walls, corners, and transitions where installation precision matters most.
Proceed with a detailed cleaning process to reveal the true finish of your work. According to grout cleaning and finishing guidelines, remove any adhesive or grout residue using appropriate cleaning solutions. Gently wipe tiles with a clean damp cloth, taking care not to disturb fresh grout lines. Inspect for any grout smears or haze that might detract from the overall appearance. Address minor touch-ups immediately while materials are still manageable. Verify that spacer holes are completely filled and grout joints are uniform in width and depth.
Take photographs of the completed installation from multiple angles as a record of your craftsmanship and for potential future reference.
Top Tip: Allow grout to cure completely before walking on the surface or placing furniture to preserve your perfect installation.
Master Your Tile Pattern Layout with Premium UK Tiles from Vivido Tiles
Achieving a flawless tile pattern layout can feel overwhelming, especially when precise surface preparation and pattern consistency are key challenges. Whether you are tackling uneven floors, choosing the perfect tile layout pattern like custom herringbone design or classic square grid, or striving for perfectly aligned tiles and grout lines, the journey requires quality materials you can trust. The article guides you through every critical step from dry layout to final inspection — but sourcing the right tiles should never hold you back.

At Vivido Tiles, based in North Yorkshire, England, we offer an extensive range of premium tiles including porcelain, natural stone, slab-look floor tile, and patterned styles designed to elevate your DIY tiling project. Explore our collection to find ideal tiles for your chosen tile layout designs with expert support and free UK delivery. Experience our new Harrogate showroom where you can see all options in person and get inspiration firsthand. Start your tiling journey confidently by visiting our site and discover how selecting the right tile shape, tile sizes, and grout joints can transform your space with ease and style.
Explore beautiful tile design ideas and shop now at Vivido Tiles to bring your flawless tile pattern layout to life.
Frequently Asked Questions
How do I prepare my tile surface for installation?
To prepare your tile surface, start by removing existing flooring materials and cleaning the area thoroughly. Ensure the surface is level and apply a self-levelling compound if there are significant uneven spots. Proper surface prep includes removing old grout and debris to ensure strong adhesion and long-lasting results.
What tile patterns can I choose for my project?
You can choose from various tile patterns such as classic grid, herringbone tiles, basketweave pattern, checkerboard design, diagonal picket tile, offset wave, or subway tile layouts. Experiment with different layouts during your dry arrangement to see which complements your space best and creates your desired tile focal point.
How do I measure and mark reference lines for tile layout?
Begin by finding and marking the room’s centre point using a measuring tape. Use a chalk line or laser level to create straight tile layout reference lines that will guide your tile placement and ensure uniform grout joints and joint consistency.
What should I do if my tiles don’t align properly during installation?
If your tiles don’t align, gently remove and reposition them immediately to correct any misalignment. Regularly check the tiles with a spirit level to minimise crooked rows and ensure pattern consistency.
How can I ensure the grout lines are uniform after tiling?
To ensure uniform grout lines, use spacers between your tiles when placing them. Regularly check the width of the grout lines and adjust the spacers as needed during the installation. Consistent grout joints enhance the overall tile layout design and durability.
What steps should I take to review the final tile layout?
To review your final tile layout, inspect the tiled surface from multiple angles and clean any adhesive or grout residue. Check for any misalignment or uneven grout lines before allowing the grout to cure completely. This final step ensures a polished and professional finish.