
Tile Grouting Process Outdoor: Achieve Durable Results Easily
Tile Grouting Process Outdoor: Achieve Durable Results Easily
Tile grouting process outdoor: British weather is famously unpredictable, testing even the toughest outdoor tile installations. Preparing your tiles and grouting area thoroughly is not just about looks—it is the secret to surfaces that last. More than half of outdoor tiling failures are traced back to poor prep work. This guide breaks down every step for anyone who wants a professional result that stands up against the ever-changing British climate and daily wear.
Table of Contents
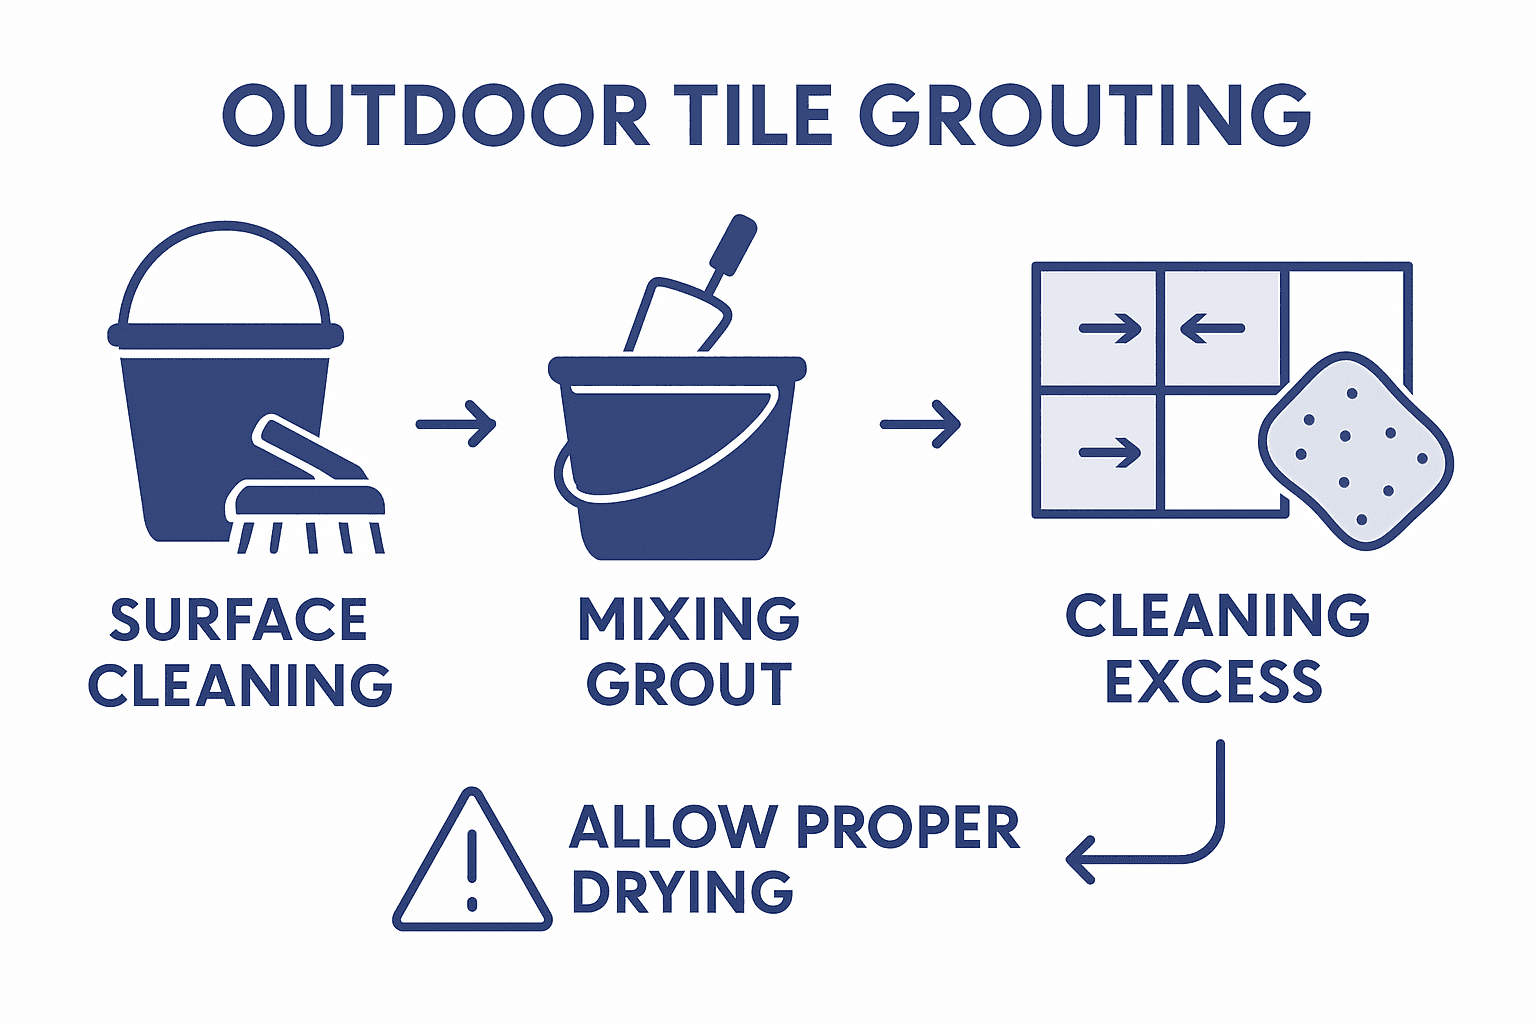
- Step 1: Prepare Outdoor Tiles And Grouting Area
- Step 2: Mix Grout To The Correct Consistency
- Step 3: Apply Grout Evenly Between Tiles
- Step 4: Clean Excess Grout From Tile Surfaces
- Step 5: Seal And Inspect The Completed Grouting
Quick Summary
| Key Point | Explanation |
|---|---|
| 1. Thoroughly prepare your area | Clean and level the entire tiling surface to ensure optimal adhesion and a longer-lasting installation. |
| 2. Mix grout to the right texture | Achieve a smooth, lump-free consistency by following the manufacturer’s instructions for mixing grout. |
| 3. Apply grout evenly between tiles | Use a rubber float at a 45-degree angle to press grout firmly into joints for effective coverage and sealing. |
| 4. Clean excess grout promptly | Wipe surfaces gently with a barely damp sponge to remove residue without disturbing the fresh grout lines. |
| 5. Seal and inspect thoroughly | Allow adequate curing time and apply a suitable sealer to protect against moisture and weather damage. |
Step 1: Prepare outdoor tiles and grouting area
Successfully preparing your outdoor tiles and grouting area is crucial for achieving a professional, long-lasting installation. This initial stage sets the foundation for a durable and visually appealing tiled surface that will withstand British weather conditions.
Begin by thoroughly cleaning the entire tiling area. Remove all debris and ensure the surface is completely dry and level. Check for any uneven spots or imperfections that might affect tile placement. Use a stiff brush or vacuum to clear dust, leaves, and loose particles from the installation zone. If working on an existing surface, clean it meticulously using appropriate cleaning solutions suitable for outdoor environments.
Next, gather all necessary materials before starting. This includes your chosen grout, tile spacers, mixing bucket, trowel, protective gloves, safety glasses, and dust sheets to protect surrounding areas. Lay the dust sheets carefully to prevent any accidental spillage or staining of adjacent surfaces. Wearing appropriate safety equipment is essential to protect yourself during the grouting process.
Technical Pro Tip: Always test your chosen grout on a small, inconspicuous tile area first to ensure colour compatibility and proper application technique before committing to the entire surface.
Step 2: Mix grout to the correct consistency
Achieving the perfect grout consistency is crucial for a professional outdoor tile installation. This step requires precision and careful attention to detail to ensure a smooth, long-lasting finish that will protect and enhance your tiled surface.
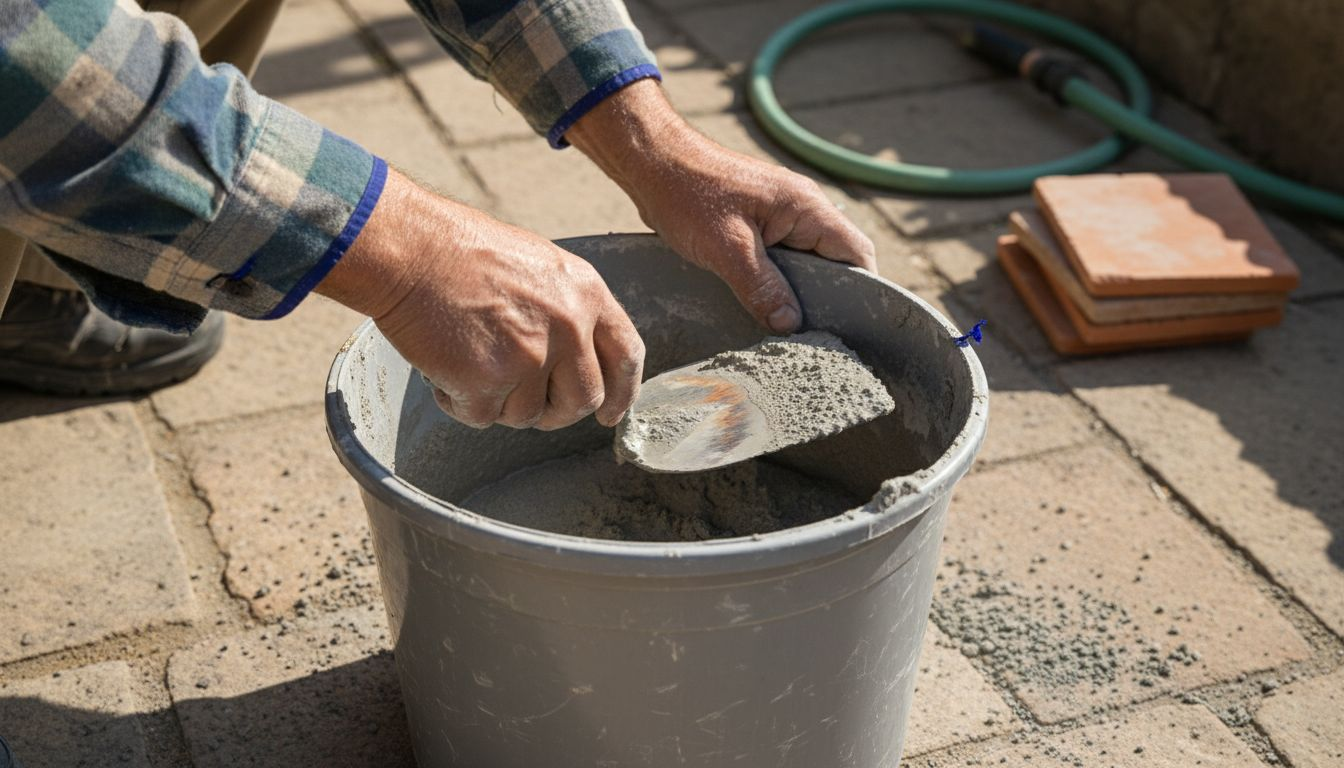
Mixing grout requires a methodical approach to guarantee the right texture and workability. Start by selecting a clean mixing bucket and measuring your ingredients carefully. Pour the recommended amount of water into the container first, then gradually add the grout powder. Some professionals suggest adding half the powder initially, mixing thoroughly, then incorporating the remaining powder to prevent lumps. Stir consistently until you achieve a smooth mixture with a consistency similar to thick clotted cream.
Once mixed, allow the grout to rest for approximately 10 minutes, a process known as slaking. This waiting period helps the ingredients fully absorb and stabilise. During this time, occasionally stir the mixture to prevent it from drying out or developing an uneven texture. Work efficiently, as grout has a limited working time and begins to set relatively quickly.
Technical Pro Tip: Always check the specific manufacturer’s instructions for your chosen grout, as water ratios and mixing techniques can vary between different product types and brands.
Step 3: Apply grout evenly between tiles
Applying grout evenly is a critical step that will determine the final appearance and durability of your outdoor tile installation. This process requires precision, patience, and a systematic approach to achieve a professional finish that looks great and protects your tiled surface.
Using a rubber float at a precise 45-degree angle helps ensure complete grout coverage and proper joint filling. Begin by holding your rubber float at an angle, pressing the grout firmly into the tile joints. Move the float diagonally across the tiles to prevent accidentally removing grout from the joints. Work in small, manageable sections to maintain control and ensure thorough coverage. Apply consistent pressure to compress the grout deeply into the spaces between tiles, which helps create a strong and water-resistant seal.
As you progress, periodically clean excess grout from the tile surfaces using a damp sponge. Be careful not to remove grout from the joints themselves. Allow the grout to set slightly before performing this initial clean up, which typically takes about 15 to 20 minutes depending on environmental conditions. The goal is to remove surface residue while leaving the joint fill intact. After the initial cleaning, wait the recommended time specified by the manufacturer before doing a final wipe down to achieve a pristine, professional finish.
Technical Pro Tip: Always keep a clean bucket of water and several spare sponges nearby during grouting to manage clean up efficiently and prevent grout from hardening on tile surfaces.
Step 4: Clean excess grout from tile surfaces
Cleaning excess grout from tile surfaces is a crucial final step that transforms your grouting work from good to outstanding. This stage requires careful technique to achieve a professional looking finish without damaging your newly installed outdoor tiles.
Once the grout begins to set, carefully remove excess material using a damp cloth or sponge. Begin by wringing out your sponge until it is barely damp to avoid introducing too much water, which could weaken the grout. Gently wipe the tile surfaces diagonally across the joints, using light pressure to remove grout residue without disturbing the freshly applied grout lines. Rinse your sponge frequently in clean water and rotate to a clean side to prevent redepositing grout onto the tiles.
After the initial cleaning, allow the grout to dry for approximately 15 to 20 minutes. Then perform a second pass with a clean, dry cloth to polish the tiles and remove any remaining haze. This final buffing step will help reveal the true colour and shine of your tiles while ensuring a crisp, clean appearance. Be patient during this process and work methodically to achieve the best possible result.
Technical Pro Tip: Keep separate buckets for clean rinsing water and dirty water to maintain optimal cleaning efficiency and prevent reintroducing grout residue onto your tiles.
Step 5: Seal and inspect the completed grouting
The final stage of your outdoor tiling project involves carefully sealing and inspecting your newly grouted surface. This crucial step ensures the long-term durability and aesthetic quality of your installation, protecting your investment from potential weather damage and wear.
Protecting the finished work against premature loading and adverse climatic conditions is essential for maintaining the integrity of your outdoor tiles. After completing the grouting process, allow the installation to cure completely. This means avoiding heavy foot traffic for at least 10 days and keeping the surface relatively undisturbed. Carefully inspect each grout line for consistency, checking that there are no gaps, cracks, or uneven sections that might compromise the waterproofing and structural integrity of the tiled area.
During your inspection, pay close attention to the edges and corners, which are often more vulnerable to potential issues. Use natural daylight to help you spot any imperfections in the grouting. Look for areas that might need touch ups or additional sealing, particularly in zones exposed to more intense weather conditions. Consider applying a quality outdoor tile and grout sealer to provide an extra layer of protection against moisture, staining, and potential frost damage.
Technical Pro Tip: Wait at least 48 hours after grouting before applying any sealant, and always choose a product specifically designed for outdoor use in the British climate.
Below is a comparison of indoor versus outdoor grout requirements:
| Requirement | Indoor Grouting | Outdoor Grouting |
|---|---|---|
| Weather resistance | Not essential | Critical for long-term result |
| Sealing | Often optional | Strongly recommended |
| Traffic exposure | Typically moderate | High and variable |
| Product selection | Standard products usable | Must be exterior-grade grout |
Here is a summary of common outdoor grouting issues and how to prevent them:
| Issue | Potential Cause | Prevention Tip |
|---|---|---|
| Cracking | Insufficient grout mixture | Mix to recommended consistency |
| Staining of tile surfaces | Excess grout left on tiles | Clean promptly with damp sponge |
| Discoloured grout lines | Incorrect water ratio | Follow manufacturer’s instructions |
| Weak grout joints | Premature traffic/water ingress | Allow adequate curing time |
| Efflorescence (white marks) | Moisture penetration | Apply appropriate outdoor sealer |
Achieve Long-Lasting Outdoor Tile Grouting with Premium Tile Solutions
Ensuring your outdoor tiling project withstands the challenges of the British climate starts with the right tiles and materials. This article highlights the importance of correct grout mixing, even application, and careful sealing to prevent cracking, staining, and premature wear. To match these professional standards, selecting high-quality tiles designed specifically for outdoor use is essential.

Explore the extensive range of outdoor tiles at Vividotiles.co.uk where you can find durable porcelain, natural stone, and outdoor paving options perfect for your project. Our competitively priced selections combined with expert advice ensure you get the best foundation for a flawless grout finish and lasting performance. Visit our new showroom in Harrogate to view collections in person or shop online today and start your outdoor transformation with confidence.
Frequently Asked Questions
How do I prepare the outdoor tiles and grouting area for installation?
Start by thoroughly cleaning the tiling area and ensuring the surface is dry and level. Remove any debris and check for imperfections to provide a solid foundation for your tiles.
What is the correct way to mix grout for outdoor tiles?
To mix grout properly, measure the ingredients carefully and pour water into a clean bucket first, then add the grout powder gradually. Aim for a consistency similar to thick clotted cream, allowing it to rest for about 10 minutes before use.
How do I apply grout evenly between outdoor tiles?
Use a rubber float held at a 45-degree angle to press the grout firmly into the tile joints. Work in small sections and clean excess grout from the tile surfaces with a damp sponge while being careful not to disturb the joints.
What steps should I follow to clean excess grout from tile surfaces?
Once the grout begins to set, use a barely damp sponge to wipe the tile surfaces diagonally. After an initial clean, wait 15 to 20 minutes before using a dry cloth to remove any remaining haze for a polished finish.
How do I ensure the grout is sealed and inspected properly after application?
Allow the grout to cure completely, avoiding heavy foot traffic for at least 10 days. After thorough inspection for consistency, consider applying a specific outdoor tile and grout sealer to protect against weather damage and stains.
What common issues should I look out for when grouting outdoor tiles?
Be alert for potential issues such as cracking or staining due to improper mixing or excessive moisture. Prevent these problems by adhering to recommended grout consistency and allowing sufficient curing time before exposing the tiles to traffic.