
How to Plan Tile Layout for Stunning, Seamless Results
How to Plan Tile Layout for Stunning, Seamless Results
Most british homeowners underestimate how much measuring accuracy shapes the final look and functionality of a tile renovation. Precise layout choices can dramatically elevate room aesthetics while saving costly mistakes, especially in North Yorkshire homes full of character. By focusing on proven techniques from professional tilers, you will uncover essential strategies for assessing your space, selecting the right materials, and achieving a beautifully harmonised finish that stands out against the stunning british countryside.
Table of Contents
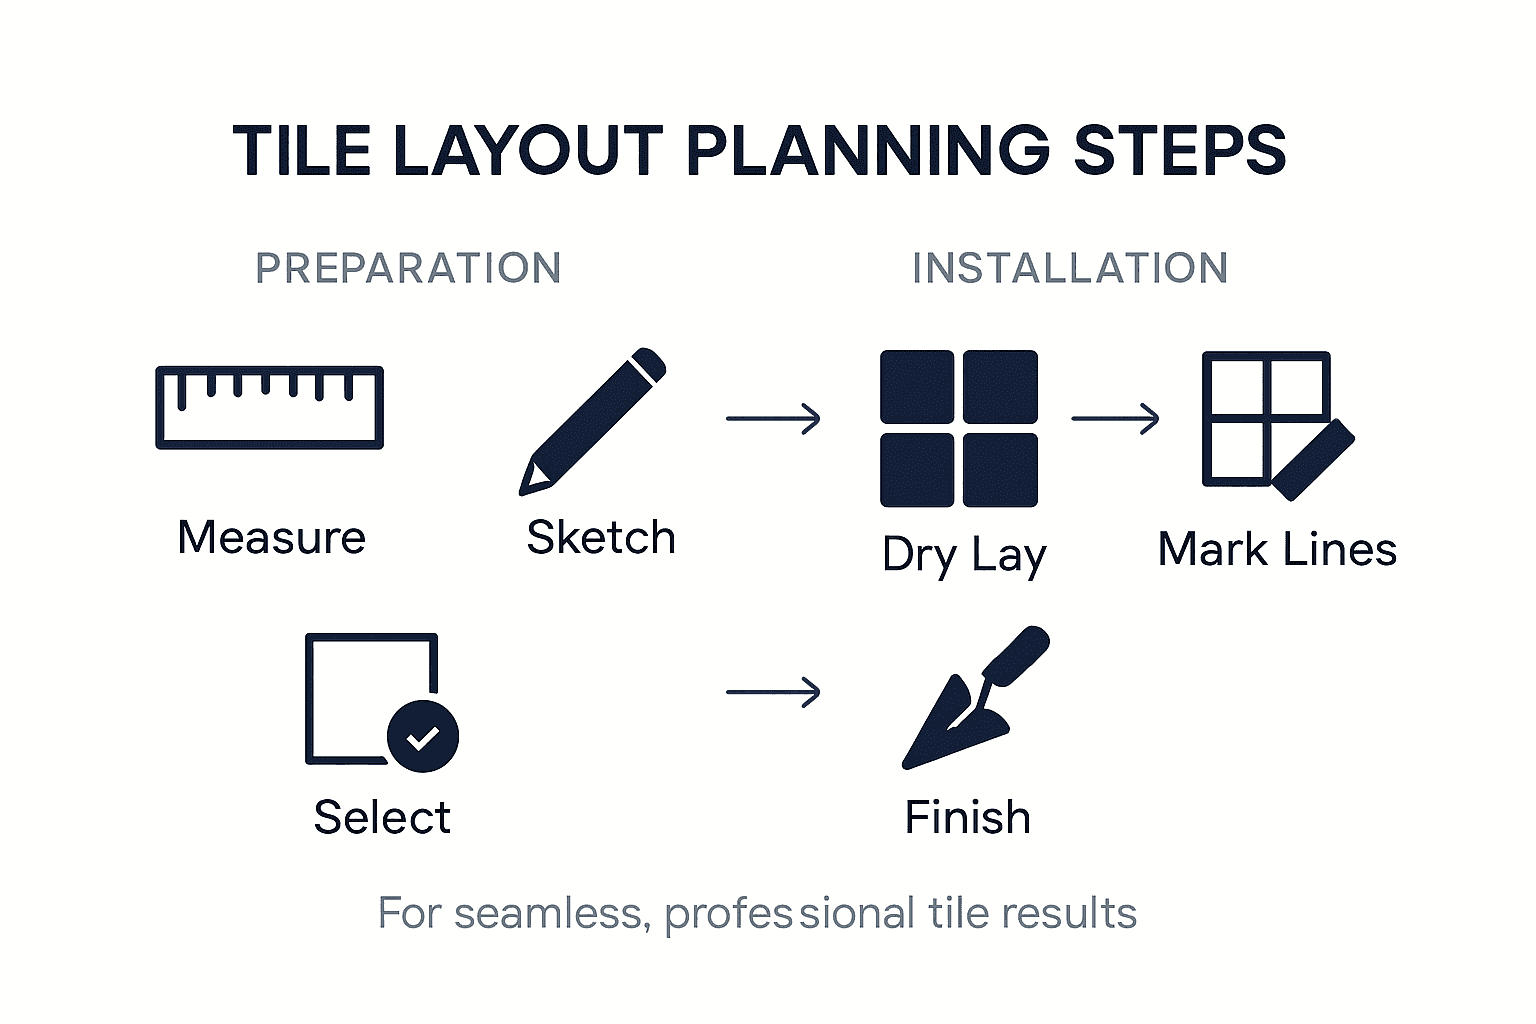
- Step 1: Assess And Measure Your Space
- Step 2: Select Suitable Tiles And Patterns
- Step 3: Prepare And Dry Lay Tiles For Visualisation
- Step 4: Mark Reference Lines And Adjust Layout
- Step 5: Verify Alignment And Finishing Details
Quick Summary
| Key Insight | Explanation |
|---|---|
| 1. Measure Your Space Accurately | Capture precise room dimensions and sketch layouts to guide your tile project. Ensure measurements are verified multiple times. |
| 2. Choose Tiles Based on Function | Select tiles appropriate for the room’s needs, considering material, size, and slip resistance. Match aesthetics to usage demands. |
| 3. Dry Lay Tiles for Visualisation | Create a mock-up of tile layouts without adhesive to visualise arrangement and identify potential issues before permanent placement. |
| 4. Mark Reference Lines Precisely | Establish accurate gridlines to ensure straight alignment and symmetry. Adjust based on room features for optimal tile placement. |
| 5. Verify Alignment and Finishing | Check tile levelness and grout consistency carefully. Inspect edges and transitions for a professional-looking finish, addressing any imperfections. |
Step 1: Assess and Measure Your Space
Understanding your space is the first crucial step in achieving a flawless tile layout. Before purchasing a single tile, you need to capture precise measurements that will guide your entire project. Start by gathering essential tools: a reliable metal measuring tape, graph paper, a pencil, and a calculator.
Begin with a comprehensive room survey by measuring room dimensions and identifying potential obstacles according to professional tiling guidelines. Measure the length and width of your floor or wall space, noting exact measurements to the nearest millimetre. Pay special attention to architectural features like doorways, windows, built-in furniture, or plumbing fixtures that might interrupt your tile installation. Create a detailed sketch on graph paper, ensuring you accurately represent the room’s proportions and note down precise measurements for each section.
Make sure to measure multiple times to confirm accuracy, and consider taking diagonal measurements to verify the room’s squareness. Understanding your space’s true dimensions will help you calculate tile quantities, plan cutting requirements, and anticipate potential layout challenges before purchasing materials.
Professional Tip: Keep your measurements and sketches in a dedicated project folder to track progress and reference during installation.
Step 2: Select Suitable Tiles and Patterns
Choosing the right tiles and patterns is about more than aesthetic appeal—it requires strategic consideration of your specific space, usage requirements, and design vision. When selecting tiles, you will navigate decisions around material, size, finish, and visual harmony that transform your space from ordinary to extraordinary.
Start by carefully evaluating your room’s characteristics using professional tile selection guidelines that consider substrate conditions, environmental factors, and functional demands. Pay attention to tile size relative to your surface area—larger format tiles can create a sense of spaciousness in expansive rooms, while smaller tiles work brilliantly in compact or irregularly shaped spaces. Consider ceramic, porcelain, natural stone, or speciality tiles based on the area’s moisture levels, foot traffic, and aesthetic requirements. For floors experiencing high wear, choose hard wearing porcelain tiles with slip resistant finishes. For walls, you might opt for decorative ceramic tiles that introduce visual interest and texture.
Here is a summary of common tile materials and their best uses:
| Tile Material | Ideal Location | Key Advantage |
|---|---|---|
| Porcelain | Floors, wet areas | Extremely durable and water resistant |
| Ceramic | Walls, low-traffic floors | Decorative and easy to cut |
| Natural Stone | Feature walls, high-end bathrooms | Unique texture and visual richness |
| Speciality (e.g., Glass, Mosaic) | Splashbacks, statement pieces | Adds colour and creative patterns |
Pattern selection requires equal thoughtfulness. Herringbone and chevron patterns add dynamic movement, while classic grid layouts offer timeless simplicity. Your chosen pattern should complement the room’s architectural features and proportions. Consider how tile orientation can visually expand or define spaces—diagonal layouts can make rooms feel larger, while parallel arrangements create a sense of order and structure.
The table below compares popular tile patterns and their visual effects:
| Pattern Type | Space Impact | Suitable For |
|---|---|---|
| Herringbone | Adds movement, modern look | Hallways, feature walls |
| Chevron | Dynamic, contemporary style | Kitchens, bathrooms |
| Grid Layout | Clean lines, classic style | Any room, especially large spaces |
| Diagonal | Makes spaces appear larger | Small or narrow rooms |
Professional Tip: Take sample tiles home and observe them under different lighting conditions before making a final decision.
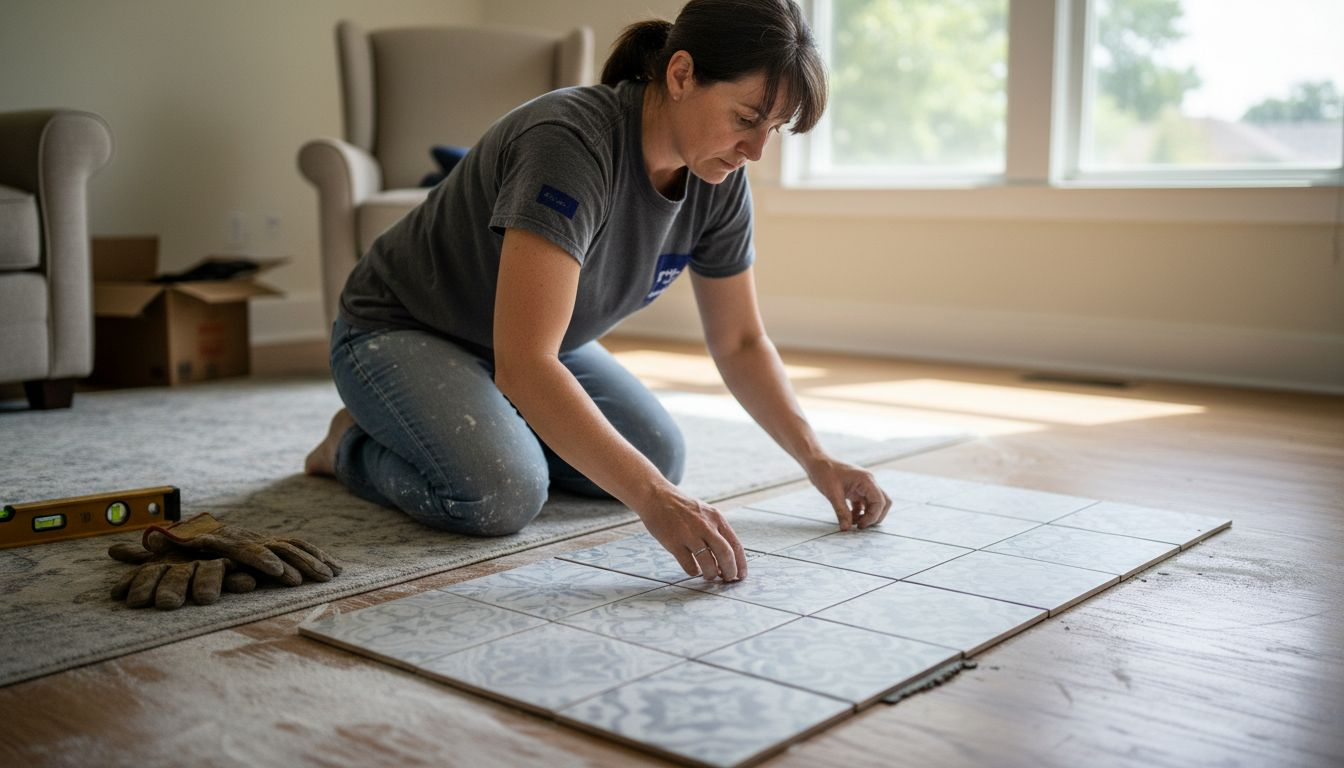
Step 3: Prepare and Dry Lay Tiles for Visualisation
Dry laying your tiles is a critical preview stage that allows you to visualise your final design and identify potential installation challenges before committing to permanent placement. This essential step helps you achieve a professional looking result by allowing strategic planning and adjustment.
Begin by following expert tile laying techniques which recommend clearing your surface completely and creating a clean flat workspace. Start in the centre of your room and lay tiles without adhesive, creating a temporary mock-up that reveals how patterns will align and where cuts might be necessary. Pay close attention to tile orientation, joint spacing, and overall visual balance. Use spacers to maintain consistent gaps and simulate the final grouted appearance. This method allows you to experiment with different layouts quickly and identify potential issues like uneven edges, awkward tile cuts, or visual imbalances before permanent installation.
Take time during this process to step back and view your dry layout from multiple angles. Photograph your potential layouts to review later, comparing different arrangements and getting input from others. Look for opportunities to centre interesting patterns, align tiles with architectural features, and minimise small tile cuts at room edges. Remember that a thoughtful dry lay can save significant time and prevent costly mistakes during the actual tiling process.
Professional Tip: Take multiple photographs of your dry laid tiles in different lighting conditions to help you make the most informed design decision.
Step 4: Mark Reference Lines and Adjust Layout
Marking precise reference lines is the foundation of a professional tile installation that ensures straight alignment and visual symmetry across your entire surface. This critical step transforms your preliminary dry layout into a structured blueprint for perfect tile placement.
Begin by establishing accurate gridlines using professional tiling techniques that guarantee precision. Use a long spirit level and chalk line to create perpendicular lines across your surface starting from the room’s centre point. These lines will serve as your primary guide for tile alignment. Measure carefully to ensure your reference lines are perfectly square—even a slight deviation can compound into significant misalignment across the entire installation. Pay special attention to the room’s structural features like walls and doorways, adjusting your grid to create balanced tile cuts and symmetrical patterns.
As you mark your reference lines, look for opportunities to optimise tile placement. Aim to centre full tiles in prominent areas and minimise narrow tile cuts near walls or architectural features. This might require subtle shifts in your original layout to achieve a more aesthetically pleasing result. Take your time during this stage and step back frequently to view your marked lines from different angles. A meticulously planned layout will result in a professional finish that looks intentional and harmonious.
Professional Tip: Use a laser level for perfectly straight reference lines that extend across large surfaces with absolute precision.
Step 5: Verify Alignment and Finishing Details
The final stage of your tile installation requires meticulous attention to detail to transform your careful planning into a professional looking result. This critical verification process ensures your tiling project meets the highest standards of precision and aesthetic quality.
Professional tile installation guidelines recommend comprehensive checking of alignment, grout consistency, and surface uniformity. Use a long spirit level and straightedge to verify that tiles are perfectly level and aligned across the entire surface. Check for lippage—where tile edges are not flush—by running your hand across tile joints and using a straightedge to detect any uneven surfaces. Pay close attention to grout lines, ensuring consistent width and clean application. Remove excess adhesive immediately and clean tile surfaces thoroughly to prevent hardened residue that can compromise the final appearance.
Take time to inspect edges, corners, and transition areas with particular care. These areas often reveal the true quality of your installation. Ensure cut tiles at room edges are precise and create a balanced visual effect. Step back and view your completed surface from different angles and lighting conditions to identify any subtle imperfections. A professional finish is about perfecting those small details that might go unnoticed at first glance but contribute significantly to the overall aesthetic impact of your tiling project.
Professional Tip: Photograph your completed installation in different lighting conditions to critically assess the final result and identify any areas requiring touch up.
Achieve Perfect Tile Layouts with Vividotiles.co.uk
Planning a flawless tile layout demands precision in measurement, tile selection, and careful visualisation. If you want your project to reflect seamless alignment and stunning patterns such as herringbone or classic grids, sourcing the right materials is vital. From durable porcelain tiles to elegant natural stone and stylish patterned options, the choices you make now will define your finished space’s beauty and durability.

Explore our extensive range at Vividotiles.co.uk where affordability meets quality. Whether you are preparing to mark reference lines or dry lay your tiles for a preview, finding the perfect tiles and patterns is easy with our user-friendly site. Visit our new tile showroom in Harrogate or shop online today to secure premium tiles that complement your design vision and make those professional tips come to life. Don’t wait to transform your space into a showcase of craftsmanship and style.
Frequently Asked Questions
How can I accurately measure my space for tile layout?
To accurately measure your space, use a reliable metal measuring tape to note the length and width of the area. Be sure to account for any obstacles like doorways or plumbing fixtures and create a detailed sketch to track your measurements.
What factors should I consider when selecting tiles and patterns?
When selecting tiles, evaluate the material, size, and finish based on the characteristics of your room and its intended use. Consider factors such as moisture levels and foot traffic; for example, choose durable porcelain tiles for high-traffic floors and decorative ceramic tiles for walls.
How do I dry lay my tiles before final installation?
To dry lay your tiles, start by clearing the surface and arranging tiles without adhesive in your chosen pattern. This allows you to visualise the layout, make adjustments, and ensure proper alignment before committing to the installation, helping you spot potential issues early on.
What is the best way to mark reference lines for tile installation?
To mark reference lines, use a long spirit level and a chalk line to create perpendicular gridlines on your surface. Establish these lines from the room’s centre point, ensuring they are perfectly square to facilitate straight tile alignment and achieve a professional look.
How can I verify the alignment and finishing details of my tile installation?
To verify alignment, use a long spirit level and straightedge across the tiled surface to ensure tiles are level and flush with one another. Inspect all edges, corners, and grout lines for consistency and clean up any excess adhesive to ensure a polished final appearance.
Recommended
- Why Tile Layout Planning Impacts Your Home’s Design – Vivido Tiles
- Floor Tiling Workflow: Achieve Flawless Tile Installation – Vivido Tiles
- Tile Design Tips / 7 Top tips for Stunning Spaces - Vivido Tiles
- Tile Design Tips / 7 Top tips for Stunning Spaces - Vivido Tiles
- Corner Storage Ideas 2025: Stylish Solutions for Busy Homes – BLUSHBEES USA