
How to Maintain Outdoor Tiles for Long-Lasting Results
How to Maintain Outdoor Tiles for Long-Lasting Results
How to Maintain Outdoor Tiles for Long-Lasting Results : Over 60 percent of British homeowners admit to neglecting outdoor tile maintenance until visible damage appears. Keeping your patio or garden tiles in top shape is about more than just looks. Proper care helps prevent costly repairs and preserves property value. With clear steps and straightforward techniques, you can protect your British outdoor spaces and enjoy durable, safe, and beautiful tile surfaces for years to come.
Table of Contents
- Step 1: Prepare Outdoor Tile Areas For Effective Maintenance
- Step 2: Remove Surface Debris And Tackle Stubborn Stains
- Step 3: Clean Tiles Thoroughly With Suitable Solutions
- Step 4: Protect Tile Surfaces With Sealing Or Treatments
- Step 5: Inspect Grout And Fix Any Damage Promptly
- Step 6: Check Tile Finish And Maintain Overall Quality
Quick Summary
| Key Point | Explanation |
|---|---|
| 1. Clear the tile area thoroughly | Remove all furniture and debris for unrestricted access to inspect tiles effectively before maintenance. |
| 2. Use gentle cleaning methods | Avoid high-pressure washing and abrasive materials to protect the integrity of your outdoor tiles during cleaning. |
| 3. Choose appropriate cleaning solutions | Use pH-neutral solutions for unglazed tiles and warm water with mild detergent for glazed tiles to avoid damage. |
| 4. Regularly inspect and maintain grout | Check grout for cracks or discolouration and promptly repair to prevent moisture ingress and structural issues. |
| 5. Select breathable sealants for protection | Avoid plastic sealants; use high-quality penetrating sealants that maintain tile properties without causing discolouration. |
Step 1: Prepare outdoor tile areas for effective maintenance
Preparing your outdoor tile areas for maintenance requires strategic planning and careful initial assessment. Before diving into cleaning, you need to create an optimal environment that ensures thorough and safe tile restoration.
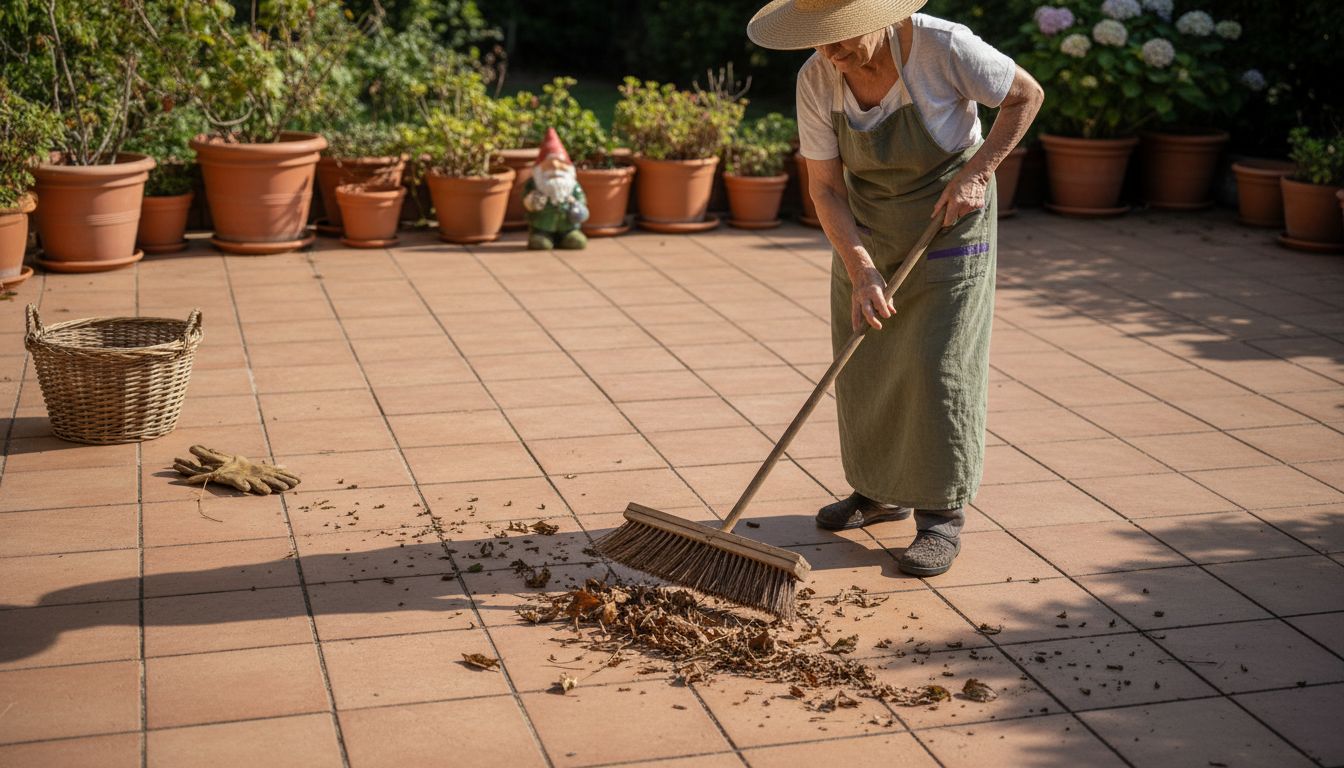
Start by completely clearing the outdoor tile space. Remove all furniture, planters, and decorative items to provide unrestricted access to the entire surface. Use a stiff broom or leaf blower to sweep away accumulated leaves, dirt, and debris. This initial clearing allows you to conduct a detailed visual inspection of your tiles.
Carefully examine the tile surface for any signs of damage or wear. Look for cracked tiles, loose sections, or areas that appear sunken or uneven. These potential issues require attention before beginning your comprehensive maintenance routine. Regular sweeping helps prevent dirt and grit from scratching tile surfaces, so developing a consistent cleaning habit will protect your outdoor tiles long term.
Warning: Avoid using high-pressure washing equipment without proper knowledge, as this can potentially damage tile grout or surfaces. Gentle cleaning methods are always preferable for maintaining the integrity of your outdoor tiles.
Step 2: Remove surface debris and tackle stubborn stains
Handling surface debris and addressing tough stains requires a strategic approach that protects your outdoor tiles while effectively cleaning them. Your goal is to restore the tile surface without causing additional damage during the cleaning process.
Begin by thoroughly sweeping the entire area using a robust broom with stiff bristles. This initial sweep will remove loose dirt, leaves, and small debris that could potentially scratch your tiles during deeper cleaning. For more stubborn dirt accumulations, consider using a leaf blower to dislodge trapped particles from between tile joints and surface crevices.
When confronting persistent stains, first wet the tile surface to prevent cleaning products from penetrating too deeply. Use a soft toothbrush or a mildly abrasive non-scratch pad to gently work on tough marks. Importantly, avoid wire wool or hard abrasive materials that could permanently damage your tile surface. For organic stains like moss or algae, a mixture of warm water and mild detergent often provides an effective and gentle cleaning solution.
Warning: Always test any cleaning solution on a small, inconspicuous area first to ensure it does not discolour or damage your specific tile type. Different tile materials react differently to cleaning agents, so caution is paramount.
Step 3: Clean tiles thoroughly with suitable solutions
Choosing and applying the right cleaning solution is crucial for maintaining the appearance and integrity of your outdoor tiles. Different tile types require specific cleaning approaches to prevent damage while effectively removing dirt and grime.
For unglazed floor tiles, use a pH-neutral cleaning agent that can effectively emulsify dirt without causing damage. Allow the solution to sit briefly and penetrate the surface before thoroughly rinsing with clean water. When dealing with glazed tiles, start by removing loose dirt using a dry cloth or soft brush. Proceed with cleaning using warm water and a neutral, low-sulfate detergent that will clean without compromising the tile’s protective glaze.
Special care must be taken to avoid abrasive cleaning methods. Steer clear of harsh powders or scrubbing tools that might scratch the tile surface, particularly for glazed tiles where the protective coating can be easily damaged. Always rinse your tiles completely with clean water after applying any cleaning solution to prevent residue buildup.
Warning: Always test your chosen cleaning solution on a small, inconspicuous area first to ensure it does not discolour or damage your specific tile type. Different materials react differently to cleaning agents, so caution and a gentle approach are essential.
Step 4: Protect tile surfaces with sealing or treatments
Protecting your outdoor tiles requires careful consideration of treatment methods that enhance durability without compromising their natural characteristics. Understanding the right approach can significantly extend the lifespan of your outdoor tiling and maintain its aesthetic appeal.
Avoid using plastic or polymer sealants, as these can potentially crack, craze, and discolour over time. Instead, consider more breathable protective solutions that allow the tile to maintain its natural properties. While traditional treatments like beeswax and polish might seem appealing, they can attract dirt and create unwanted surface changes.
Instead, focus on selecting a high-quality penetrating sealant specifically designed for your tile type. Ceramic, porcelain, and natural stone tiles each require different protective approaches. Consult with a professional or tile manufacturer to identify the most suitable treatment that will provide water resistance, prevent staining, and maintain the tile’s original appearance without creating a slippery surface.
Warning: Always test any sealing product on a small, inconspicuous area first to ensure compatibility with your specific tile material and to verify the desired aesthetic outcome.
Step 5: Inspect grout and fix any damage promptly
Grout maintenance is a critical aspect of preserving your outdoor tile installation, preventing water infiltration and potential structural damage. Regular inspection allows you to catch and address small issues before they become significant problems that could compromise your entire tiling system.
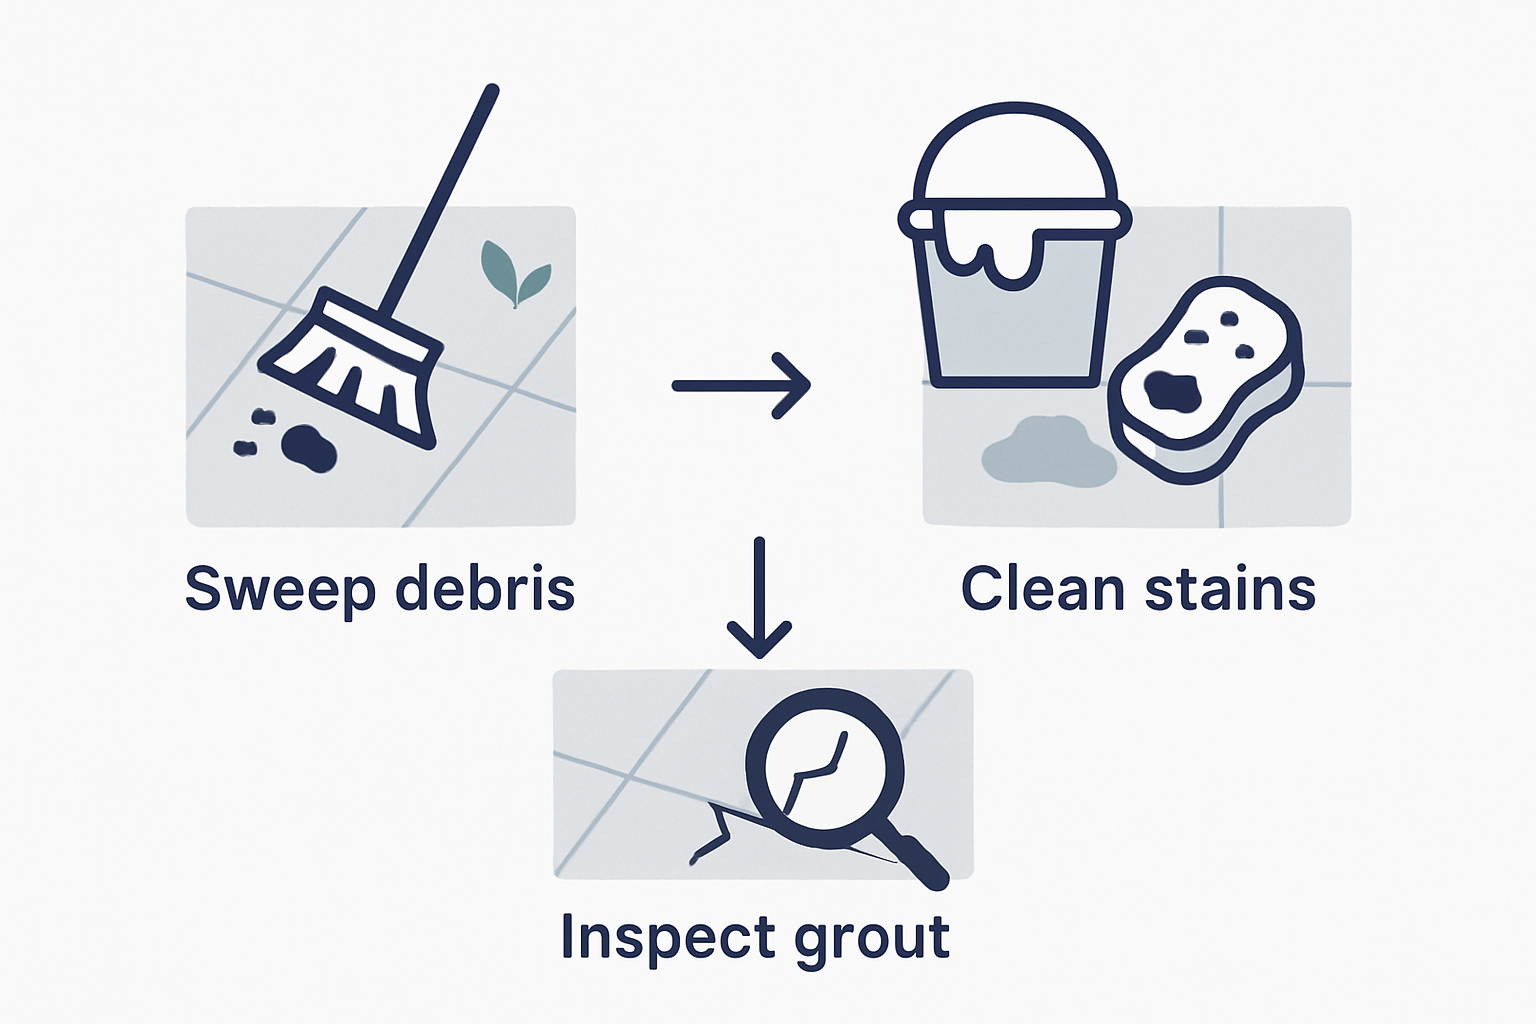
Begin by conducting a thorough visual examination of the grout lines, looking for signs of cracking, crumbling, or discolouration. Pay special attention to high-traffic areas and spaces exposed to moisture, as these regions are most susceptible to wear and deterioration. Regrouting with a weak cement grout can enhance the tiles’ appearance and provide additional protection, particularly in areas experiencing frequent use.
When addressing grout damage, start by carefully removing the damaged sections using a grout removal tool or a small utility knife. Clean the area thoroughly, ensuring all loose material is removed and the joint is free from debris. Select a grout product that matches your existing colour and is specifically designed for outdoor applications. Apply the new grout carefully, ensuring complete coverage and smooth, even filling of the joint.
Warning: Always wear protective gloves and safety glasses when working with grout removal and replacement tools. Ensure proper ventilation and follow manufacturer instructions precisely to achieve the best results.
Step 6: Check tile finish and maintain overall quality
Maintaining the quality of your outdoor tiles requires systematic and periodic assessment of their condition and surface integrity. Understanding how to evaluate and preserve your tile finish will help ensure long lasting performance and aesthetic appeal.
Most tiled floors require little maintenance beyond regular sweeping or vacuuming to remove dirt and grit that might scratch the surface. Conduct monthly visual inspections to identify early signs of wear, discolouration, or surface damage. Look closely at tile edges, corners, and high traffic areas for potential deterioration or subtle changes in finish.
When considering any remedial treatments, especially for historic or specialised tile installations, obtain professional guidance to ensure appropriate preservation techniques. Different tile materials require unique maintenance approaches, so understanding your specific tile type is crucial. Consider consulting a professional if you notice significant wear or are unsure about the best maintenance strategy.
Warning: Avoid using harsh cleaning chemicals or abrasive tools that could compromise the tile’s protective finish. Always test cleaning products on a small, inconspicuous area first to prevent potential damage.
Protect and Enhance Your Outdoor Tiles with Expert Solutions
Maintaining outdoor tiles requires not only the right cleaning and sealing techniques but also choosing products that stand the test of time and weather. If you have noticed cracked grout, stubborn stains, or are concerned about long-term protection as described in the guide, Vividotiles.co.uk offers a wide selection of premium outdoor tiles and specialised sealants designed to preserve both beauty and durability. Avoid costly repairs and enhance your space with our expert-approved tile options and maintenance products.

Discover our extensive range of outdoor paving and stone tiles that combine style with resilience. Visit our New Tile showroom in Harrogate to see the quality firsthand or explore our website for detailed product information. Take control of your outdoor tile maintenance today by browsing outdoor tiles and securing free UK delivery on your next project. Act now to ensure your outdoor areas remain stunning for years to come.
Frequently Asked Questions
How can I effectively prepare my outdoor tiles for maintenance?
To effectively prepare your outdoor tiles for maintenance, start by clearing the area of all furniture, planters, and decorative items. Sweep the surface thoroughly to remove leaves, dirt, and debris, allowing you to inspect for any damage before proceeding with cleaning.
What is the best way to tackle stubborn stains on outdoor tiles?
Begin by wetting the tile surface to prevent cleaning products from penetrating too deeply, then use a soft toothbrush or a non-scratch pad to gently scrub at the stains. Avoid harsh materials like wire wool, and consider a mild detergent solution for organic stains like moss or algae.
How do I choose the right cleaning solution for my outdoor tiles?
Select a pH-neutral cleaning agent for unglazed tiles and a low-sulfate detergent for glazed tiles to avoid damage. Always test the cleaning solution on a small, inconspicuous area first to ensure it does not discolour or harm your tile type before applying it broadly.
When should I inspect my grout and how do I fix any damage?
Regularly inspect your grout at least once a month, particularly in high-traffic and moist areas. If you notice cracking or discolouration, carefully remove the damaged grout and replace it with a compatible outdoor grout product, ensuring a smooth and even fill to maintain the tile’s integrity.
How can I protect my outdoor tiles after cleaning?
To protect your outdoor tiles, apply a high-quality penetrating sealant designed for your specific tile type. Ensure to test the sealant on an inconspicuous area first, and reapply as necessary to maintain water resistance and prevent staining, ideally every 1-3 years depending on exposure conditions.
What routine maintenance is necessary to keep outdoor tiles in good condition?
Routine maintenance involves regularly sweeping or vacuuming to remove dirt and grit that can scratch the surface, along with conducting monthly visual inspections. Address any signs of wear or discolouration promptly to extend the lifespan and aesthetic appeal of your outdoor tiles.