
Master the Bathroom Tile Workflow for Quality Results
Master the Bathroom Tile Workflow for Quality Results
Most British homeowners spend over 20 percent of their renovation budget on bathroom updates, so getting tile preparation and installation right matters more than ever. In North Yorkshire, balancing quality with affordability can be a challenge, especially when aiming for results that look professionally finished. This guide delivers clear, step-by-step methods any DIY enthusiast can apply to transform their bathroom tile workflow, helping you avoid common mistakes and protect your investment.
Table of Contents
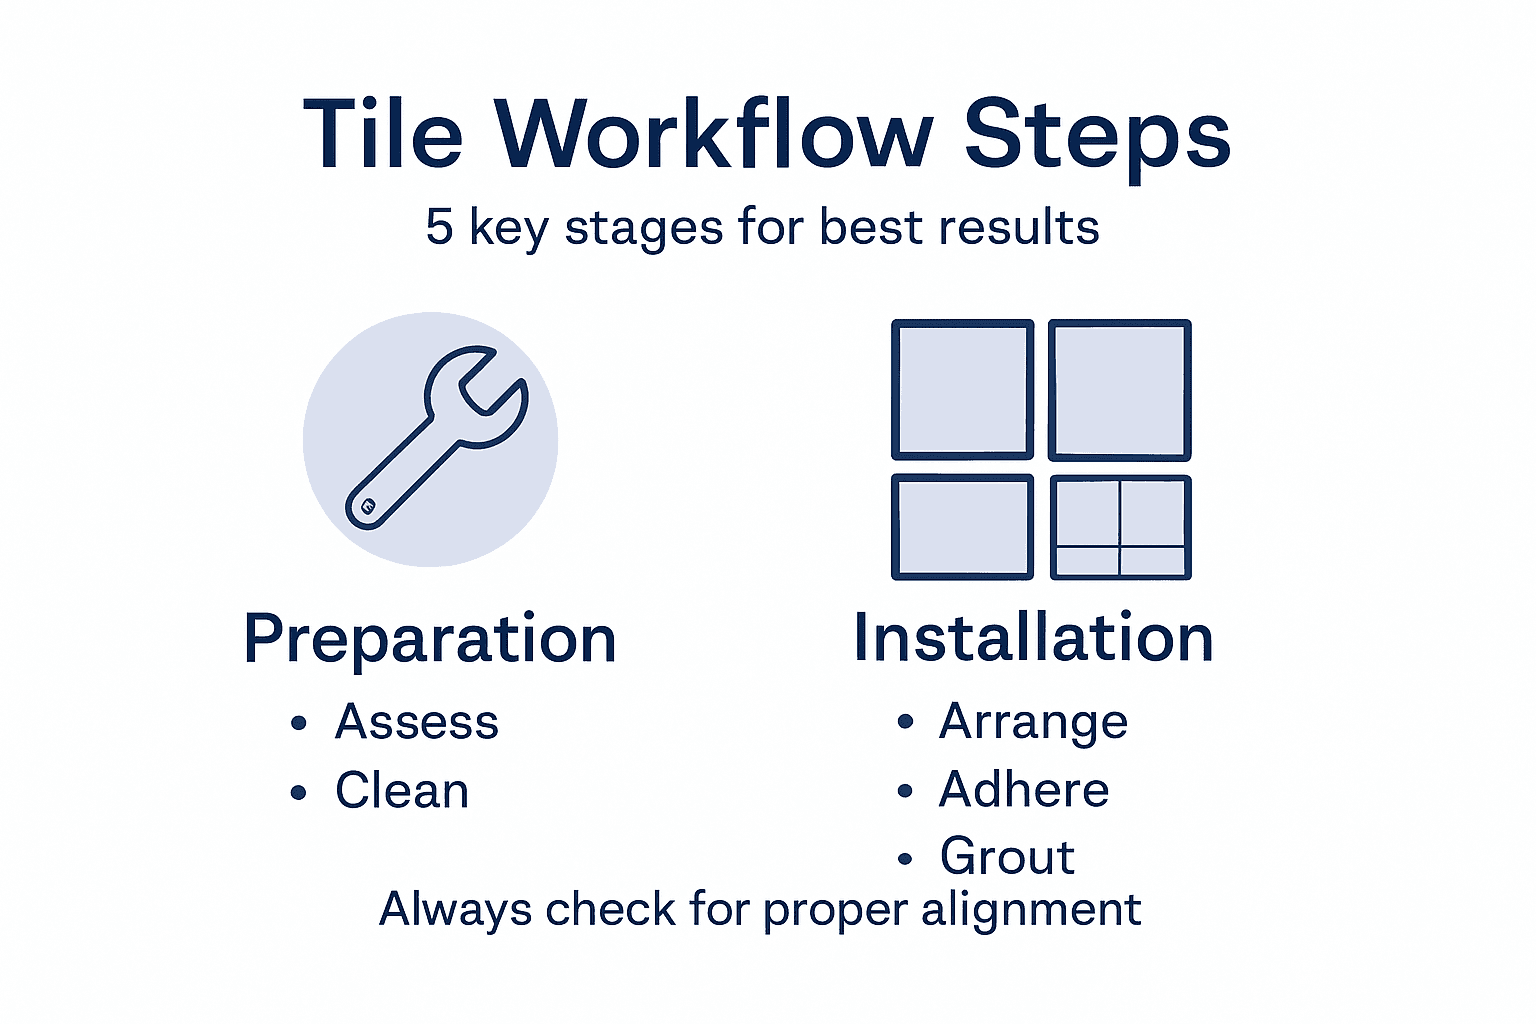
- Step 1: Assess And Prepare The Bathroom Surface
- Step 2: Select And Arrange Your Ideal Tiles
- Step 3: Apply Adhesive And Position Tiles Accurately
- Step 4: Grout Joints And Clean Surfaces
- Step 5: Inspect And Finalise The Tiled Area
Quick Summary
| Key Point | Explanation |
|---|---|
| 1. Assess Surface Thoroughly | Conduct a detailed inspection to identify moisture damage or structural issues before tiling. Proper assessment ensures strong adhesion of new tiles. |
| 2. Select Appropriate Tiles | Choose tiles based on durability and water resistance, ensuring they match your bathroom’s style and size for optimal functionality. |
| 3. Apply Adhesive with Precision | Use an appropriate adhesive and a notched trowel, spreading it evenly. Ensuring proper application is crucial for tile stability and longevity. |
| 4. Grout Correctly | Mix grout to a consistent texture and apply it evenly to joints, ensuring there are no gaps or air pockets for a polished finish. |
| 5. Final Inspection is Essential | Check alignment, grout consistency, and edge integration thoroughly to ensure high-quality results and secure installation of tiles. |
Step 1: Assess and Prepare the Bathroom Surface
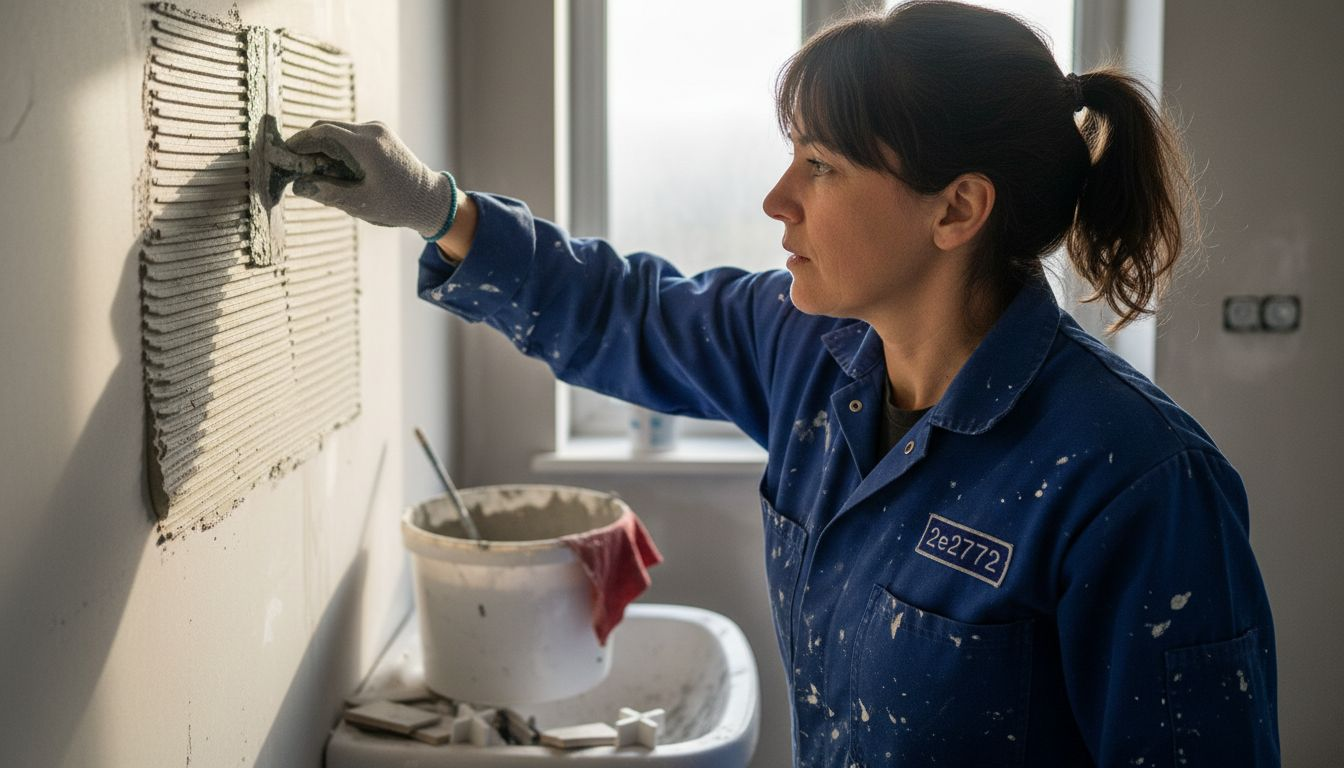
Assessing and preparing your bathroom surface is critical for achieving professional tiling results. In this crucial initial phase, you will carefully evaluate the existing surface to ensure a stable, clean foundation for your new tiles.
Begin by conducting a thorough inspection of your bathroom walls and floor. Look for signs of moisture damage, uneven surfaces, or structural issues that could compromise tile adhesion. Careful surface assessment involves removing old tiles, checking for underlying damage such as rotten flooring, and determining whether additional repair work is necessary. Check for structural integrity by pressing gently against walls and floors to identify any areas of weakness or movement.
Next, clean the surface meticulously. Remove all dust, debris, grease, and loose paint using a robust scraper and cleaning solution. For areas with existing tiles, ensure complete removal of old adhesive and grout. Smooth out any significant irregularities using a levelling compound, creating a flat surface essential for precise tile installation. Professional preparation techniques recommend consulting a professional builder if you encounter extensive damage or complex surface challenges.
Expert Tip: Allow surfaces to dry completely for at least 24 hours after cleaning and repairs to prevent moisture related tile installation problems.
Step 2: Select and Arrange Your Ideal Tiles
Selecting and arranging bathroom tiles requires careful consideration to create a visually appealing and functional space. This step will help you choose tiles that not only look stunning but also meet your practical bathroom requirements.
Start by exploring tile options that complement your bathroom’s style and dimensions. Strategic tile selection involves understanding various tile types, sizes, and materials that work best in moisture-rich environments. Consider ceramic, porcelain, or natural stone tiles that offer durability and water resistance. Think about your bathroom’s colour scheme, lighting, and overall aesthetic when making selections. Pay attention to tile sizes proportional to your space smaller tiles work well in compact bathrooms, while larger tiles can make smaller rooms appear more spacious.
Here is a quick reference table for common bathroom tile materials and their key properties:
| Tile Material | Water Resistance | Ideal Use Locations | Notable Features |
|---|---|---|---|
| Ceramic | Moderate | Walls and low-impact floors | Wide style range, affordable |
| Porcelain | High | Floors and wet zones | Hard-wearing, low porosity |
| Natural Stone | Varies by type | Feature walls, luxury areas | Unique look, requires sealing |
| Glass | Excellent | Accent strips, feature walls | Reflects light, modern look |
Before final installation, create a preliminary layout to visualise the tile arrangement. Practical tile planning involves measuring your space carefully and creating a mock arrangement to understand how tiles will look when installed. Use graph paper or digital design tools to map out tile placement, ensuring symmetry and minimising cut tiles around edges. Consider tile orientation diagonal layouts can add visual interest, while traditional grid patterns offer a classic look.
Expert Tip: Always purchase 10% extra tiles beyond your calculated requirements to account for potential breakage or future replacements.
Step 3: Apply Adhesive and Position Tiles Accurately
Applying adhesive and positioning tiles requires precision and careful technique to ensure a professional finish. This critical step will transform your bathroom surface from a prepared canvas into a beautifully tiled space.
Tile adhesive application techniques demand careful consideration of your specific tile type and surface conditions. Select an adhesive compatible with your tile material and bathroom environment. Use a notched trowel held at a 45-degree angle to spread adhesive evenly, creating consistent ridges that provide optimal tile coverage. Work in small sections to prevent the adhesive from drying before tile placement. Back butter larger tiles by applying a thin layer of adhesive directly to the tile’s reverse side to improve overall adhesion and eliminate potential air pockets.
Precise tile positioning methods involve using tile spacers to maintain uniform gaps and alignment. Press each tile gently but firmly into the adhesive, using a slight twisting motion to ensure complete contact. Check level and alignment frequently using a spirit level, adjusting tiles immediately while the adhesive remains workable. Remove excess adhesive from tile surfaces promptly with a damp sponge to prevent hardening and maintain a clean finish.
Expert Tip: Work in natural daylight or use bright lighting to help you spot and correct alignment issues more easily during tile installation.
Step 4: Grout Joints and Clean Surfaces
Grouting is the final transformative stage that will seal your bathroom tiles and create a polished professional appearance. This crucial process involves filling tile joints precisely and cleaning surfaces to achieve a seamless finish.
Grout application techniques require careful preparation and execution. Select a grout type compatible with your tile material and bathroom environment. Mix the grout to a smooth consistency comparable to thick butter using a rubber float. Work systematically across your tiled surface at a 45-degree angle, pressing grout firmly into joints to eliminate air pockets and ensure complete coverage. Move diagonally across tile joints to prevent disturbing freshly applied grout and maintain an even application.
After initial grouting, allow the surface to set for approximately 15 minutes before cleaning. Use a damp sponge to remove excess grout from tile surfaces gently, rinsing frequently to prevent residue buildup. Grout maintenance strategies recommend wiping tiles in a diagonal motion to avoid displacing fresh grout from joints. Once the grout has partially dried, buff tiles with a clean dry cloth to remove any remaining grout film and achieve a pristine finish.
Expert Tip: Seal your grout lines within 48 hours of application to protect against moisture penetration and potential staining.
Step 5: Inspect and Finalise the Tiled Area
The final inspection stage is crucial for ensuring your bathroom tiling project meets professional standards of quality and aesthetics. This comprehensive review will help you validate the precision and finish of your newly tiled surface.
Professional inspection techniques recommend a systematic approach to evaluating your tiled area. Begin by examining each tile under good lighting conditions to identify any uneven edges, misalignments, or potential gaps. Run your hands gently across the surface to detect subtle irregularities that might not be immediately visible. Check grout lines for consistency and ensure they are uniformly filled without air pockets or cracking.
Comprehensive tile assessment involves verifying the entire installation meets safety and aesthetic standards. Test the tiles for secure attachment by applying light pressure and listening for any hollow sounds that might indicate improper adhesion. Inspect the edges and corners where tiles meet walls or fixtures to confirm seamless integration. Use a spirit level to verify overall surface flatness and make minor adjustments if necessary.
The following summary outlines the essential checks at final inspection:
| Inspection Focus | What to Look For | Example Issue Detected |
|---|---|---|
| Tile Alignment | Straight, even placement | Crooked tile edge |
| Grout Consistency | Smooth, uniform joints | Missing or cracked grout |
| Secure Fixing | No hollow or loose tiles | Hollow sound when tapped |
| Edge Integration | Neat joins to fixtures | Gaps near bath or skirting |
Expert Tip: Photograph your completed tiling project from multiple angles to document the work and help identify any subtle imperfections that might require attention.
Elevate Your Bathroom Tiling Experience with Premium Tiles from Vivido Tiles
Mastering each step of the bathroom tile workflow demands not only skill and precision but also the right materials to ensure lasting beauty and durability. From assessing the surface and selecting tiles that match your style to applying adhesive with care and grouting to perfection, every stage benefits from quality products designed for wet environments. Avoid common pitfalls like improper sealing or tile damage by choosing from our extensive range of porcelain, natural stone, and other specialised bathroom tiles at Vivido Tiles. Our expertise in tile solutions can help you create the flawless finish your project deserves.

Discover your ideal tiles today at our online store where affordability meets quality and variety. Whether you are renovating a compact space or designing a luxurious bathroom feature wall, we offer styles and materials tailored to your unique project needs. Visit us now and take advantage of free UK delivery and expert guidance to complete your bathroom tile workflow with confidence.
Frequently Asked Questions
How do I assess the bathroom surface before tiling?
To assess the bathroom surface, inspect for moisture damage, uneven areas, and structural issues. Remove any old tiles or adhesive and repair any underlying damage to ensure a stable foundation for the new tiles.
What type of tiles should I choose for my bathroom?
Select tiles that provide durability and water resistance, such as ceramic, porcelain, or natural stone. Consider the bathroom’s colour scheme and the size of the tiles to ensure they complement the space.
How do I apply adhesive for tiling effectively?
When applying tile adhesive, use a notched trowel at a 45-degree angle to create ridges for even coverage. Work in small sections to keep the adhesive wet and back butter larger tiles for improved adhesion.
What are the best practices for grouting tiles?
For grouting tiles, mix the grout to a smooth consistency and press it firmly into joints using a rubber float. Clean excess grout off the tile surface with a damp sponge and ensure uniformity in the grout lines to achieve a polished finish.
How can I ensure my tiled surface is aligned correctly?
To ensure correct alignment, frequently check the tiles with a spirit level and adjust while the adhesive remains workable. Regularly inspect for misalignments and make adjustments immediately to maintain a neat appearance.
What should I look for during the final inspection of my tiled area?
During the final inspection, check for even tile placement, consistency in grout lines, and secure fixing of tiles. Run your hand across the surface to detect irregularities, and ensure seamless joins at edges and fixtures.